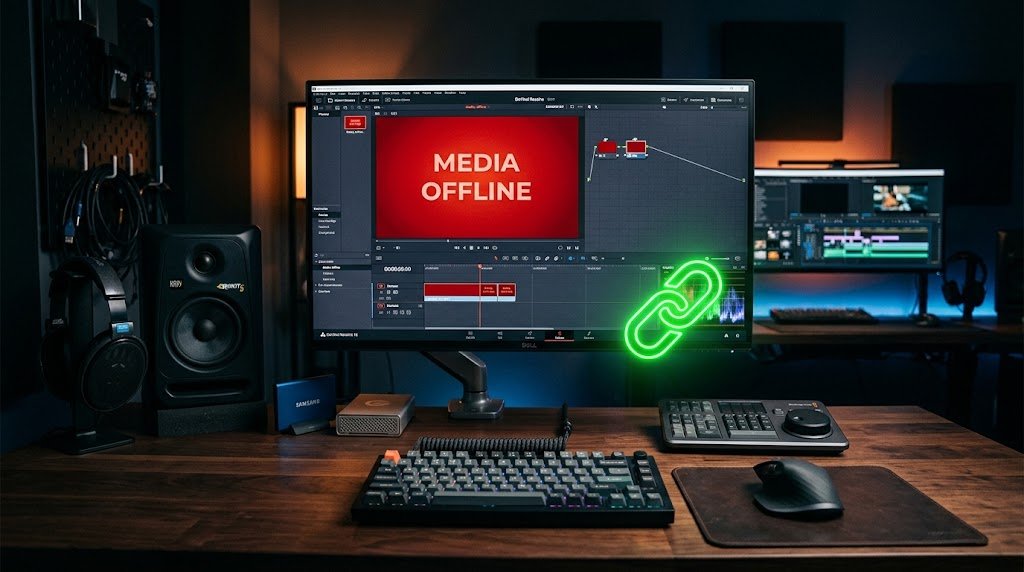
This article focuses on How to Fix “Media Offline” in DaVinci Resolve (6 Proven Methods)
How to Fix “Media Offline” in DaVinci Resolve (6 Proven Methods)
Target Keyword: davinci resolve media offline fix
Suggested URL Slug:
/davinci-resolve-media-offline-fix/Meta Title: How to Fix “Media Offline” in DaVinci Resolve (Fast Relink Guide)
Meta Description: Seeing the red “Media Offline” screen in DaVinci Resolve? Follow these step-by-step methods to relink missing clips, fix cache glitches, and resolve codec errors.
Quick Fix: How to Relink Offline Media in 10 Seconds
If your footage suddenly shows a red “Media Offline” screen:
Open the Edit or Media page and locate the Media Pool.
Select the offline clip(s) (press
Ctrl + AorCmd + Ato select all).Right-click and select Relink Selected Clips… (or click the red Relink Media icon in the top-left of the Media Pool).
Navigate to the folder on your drive where the original video files are stored and click Open. DaVinci Resolve will scan the folder and restore playback immediately.
If standard relinking does not work, or if your clips randomly flash offline during playback, read below for the complete troubleshooting steps.
Why Does DaVinci Resolve Show “Media Offline”?
DaVinci Resolve does not store actual video files inside your project file (.drp); it merely references the file paths on your hard drive. The “Media Offline” error occurs when this connection breaks due to:
Moving, renaming, or deleting the source files or folders.
Disconnecting or changing the drive letter of an external SSD/HDD.
Corrupted render cache or optimized media.
Unsupported video codecs (such as missing HEVC/H.265 drivers on Windows).
Variable Frame Rate (VFR) footage from smartphones or screen recorders.
Cloud sync software (OneDrive, Dropbox, iCloud) offloading files to save local space.
Method 1: Relink via the Media Pool (Primary Fix)
When files have simply moved to a new folder or hard drive, relinking restores the connection.
Switch to the Media or Edit page at the bottom of the interface.
In the Media Pool, locate the clips displaying the red offline icon.
Right-click the affected clip (or select multiple clips) and click Relink Selected Clips.
In the file explorer window, navigate to the directory where your footage lives.
Click Select Folder (or Open).
Tip: If your files are scattered across several subfolders, check the top-level parent folder. DaVinci Resolve will automatically scan nested subdirectories to locate matching file names.
Method 2: Change Source Folder (Best for Drive Letter Changes)
If you switched computers or your external drive’s letter changed (e.g., from E: to F: on Windows), DaVinci Resolve may fail to map the new drive.
In the Media Pool, select the offline clips or the master bin.
Right-click and choose Change Source Folder…
In the dialog box:
From: Displays the old file path DaVinci Resolve is searching for.
To: Click Browse and select the new location path on your current drive.
Click Change. DaVinci Resolve will rewrite the path prefix across all selected assets.
Method 3: Clear and Rebuild Corrupted Render Cache
If your media shows offline only on specific frames, flashes intermittently, or shows offline while the thumbnail in the Media Pool looks normal, the issue is almost always a corrupted cache rather than missing files. As frequently reported in the Blackmagic Design Forum, clearing temporary cache files resolves this glitch.
Go to the top menu bar and click Playback.
Hover over Delete Render Cache and choose All…
Confirm by clicking Delete.
To ensure background caching is not causing ongoing instability:
Navigate to Playback > Render Cache and switch it from Smart to None (or User).
Scrub the timeline again to see if playback returns.
Method 4: Fix Missing Codecs (Windows H.265 / HEVC)
On Windows systems, DaVinci Resolve Studio supports H.265/HEVC natively, but the free version of DaVinci Resolve relies on system-level OS decoders. If you import 4K drone, GoPro, or modern smartphone footage and immediately get a “Media Offline” screen with working audio:
Close DaVinci Resolve.
Open the Microsoft Store on Windows.
Search for HEVC Video Extensions (or the official manufacturer extension) and install it.
Reopen DaVinci Resolve and reload the project.
If you are on macOS or unable to install the extension, transcode the footage to an edit-friendly format:
Use a free transcoder like HandBrake or Shutter Encoder.
Convert the source files to Apple ProRes (Mac) or DNxHR / H.264 (Windows) with a constant frame rate before importing.
Method 5: Resolve Variable Frame Rate (VFR) Glitches
Footage recorded on smartphones (iPhone, Android) or screen capture software (OBS, Zoom) often uses Variable Frame Rate (VFR) to conserve bandwidth. Professional NLEs like DaVinci Resolve expect Constant Frame Rate (CFR). VFR files frequently lead to audio sync drift, playback freezes, or sudden offline flags.
Open the file in Shutter Encoder or HandBrake.
Under video settings, choose Constant Framerate (CFR) (e.g., 29.97, 30, or 60 fps).
Transcode the file and use Replace Selected Clip in DaVinci Resolve to swap the file seamlessly without losing timeline cuts.
Method 6: Disable Cloud Storage “Files on Demand”
If your project assets are stored inside a OneDrive, Dropbox, or iCloud synced directory, the operating system may automatically offload unused files to the cloud to free up drive space. The file icon remains in your file browser, but the actual file size drops to 0 KB, prompting Resolve to flag it as offline.
Open your file explorer and navigate to your project folder.
Right-click the folder.
Select Always keep on this device (for OneDrive) or Make available offline (for Dropbox/iCloud).
Wait for the download icons to turn into solid green checkmarks before launching DaVinci Resolve.
Best Practices to Prevent Media Offline Errors
Establish a Dedicated Project Directory: Create a standardized folder structure (
01_Footage,02_Audio,03_Graphics,04_Exports) on a dedicated drive before beginning an edit.Avoid Moving Assets Mid-Project: Do not clean up desktop folders or reorganize raw files while an active project is underway.
Use DaVinci Resolve’s Project Archive (.dra): When moving projects between computers, do not simply copy the
.drpproject file. Go to File > Export Project Archive… to package the project file along with all associated raw media into a single self-contained directory.
Frequently Asked Questions (FAQ)
Q: Why does only the audio play while the video says “Media Offline”?
A: This usually indicates an unsupported video codec (commonly 10-bit H.265/HEVC in the free version of DaVinci Resolve on Windows) or a lack of GPU VRAM to decode the video stream. Transcoding the video to ProRes or DNxHR will resolve it.
Q: How do I relink just one specific file?
A: Right-click the clip in the Media Pool, select Replace Selected Clip, and manually select the exact replacement file from your system.
Q: Why does my footage show “Media Offline” only after exporting?
A: This typically occurs when Resolve renders faster than your storage drive or GPU can deliver the frames. In the Deliver page, go to the Video settings tab, expand Advanced Settings, and lower the Render speed from Maximum to 50 or 25.